Showing posts with label Colour. Show all posts

Sunday, November 29, 2015

Progress Update Part 2...

Climbing up the newly laid stairs, our update continues with the first floor.


Above: The stairs being laid. My OCD is such that we had to have solid one piece treads and risers, as when I walk up tiled stairs the lines of grouting do my head in...


Above: View of landing from long gallery. The balusters have all been made for the stairwell and balcony, so these should be able to be installed next week. We're still not sure whether the banister will be carved wood or formed from pouring coloured concrete into boxing on site. There are pros and cons to each. We had to ditch our ideas of wrought iron balustrade and banisters as we had seen the quality of the ironwork being imported for other projects which was terrible, and having the same product made to our drawings in NZ would cost an arm and a leg. We have used to following staircase for our inspiration for the finished balustrade...


 Above: View across landing near top of stairs.

Below: Upstairs powder room. A smallish space, but still better to have an additional space for guests to freshen up; and it is well appointed. We have a lovely mirror to hang above the vanity.


The Brideshead Suite is almost ready for use as well. Below a view looking towards the bed end...

and with the furniture waiting to be unwrapped and placed...

Looking towards the other end of the suite:

Inside the bathroom, a view of the spa bath with the Rowe and Perrin fittings all plumbed in.

  The curved marble with handmade cornicing came out well. 

The vanity and loo...

The Chatsworth Suite...
This suite too is ready to be furnished and used.
 Above: View from where the bed will be positioned.

Below: Views towards (left to right) the entrance door, wardrobe, espresso bar, and bathroom.

Space inside for fridge (bottom left), and the shelf above that (which will be finished with a marble surface) upon which the nespresso machine and tea tray etc will be. Then there are an additional 2 shelves to be added to the unit above for other things (? what exactly).

The Chatsworth vanity and loo (red marble, gold taps).

The Blenheim bathroom (gray marble, nickel taps).

The Blenheim suite is yet to be wallpapered, but once it is we will share some more pics. Here is the furniture in the Blenheim suite waiting to be unwrapped and placed after the papering is done.
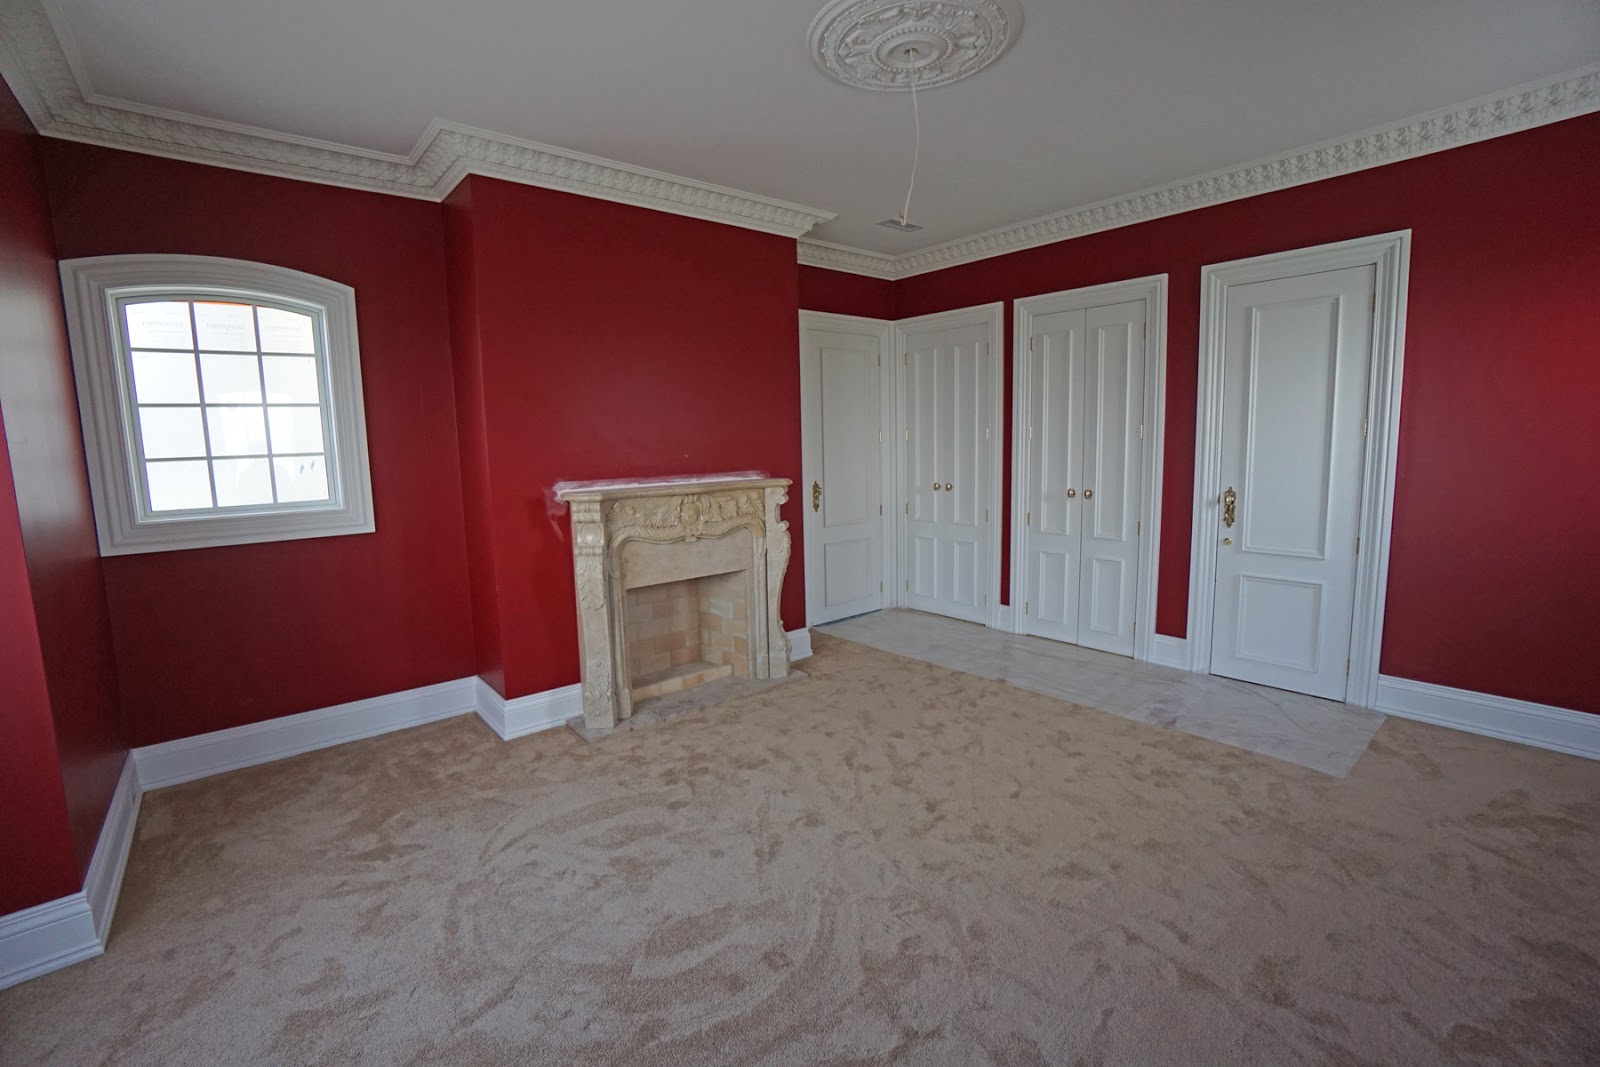


The Master Suite
Above: View as you walk into the room.

Below: View facing south corner.

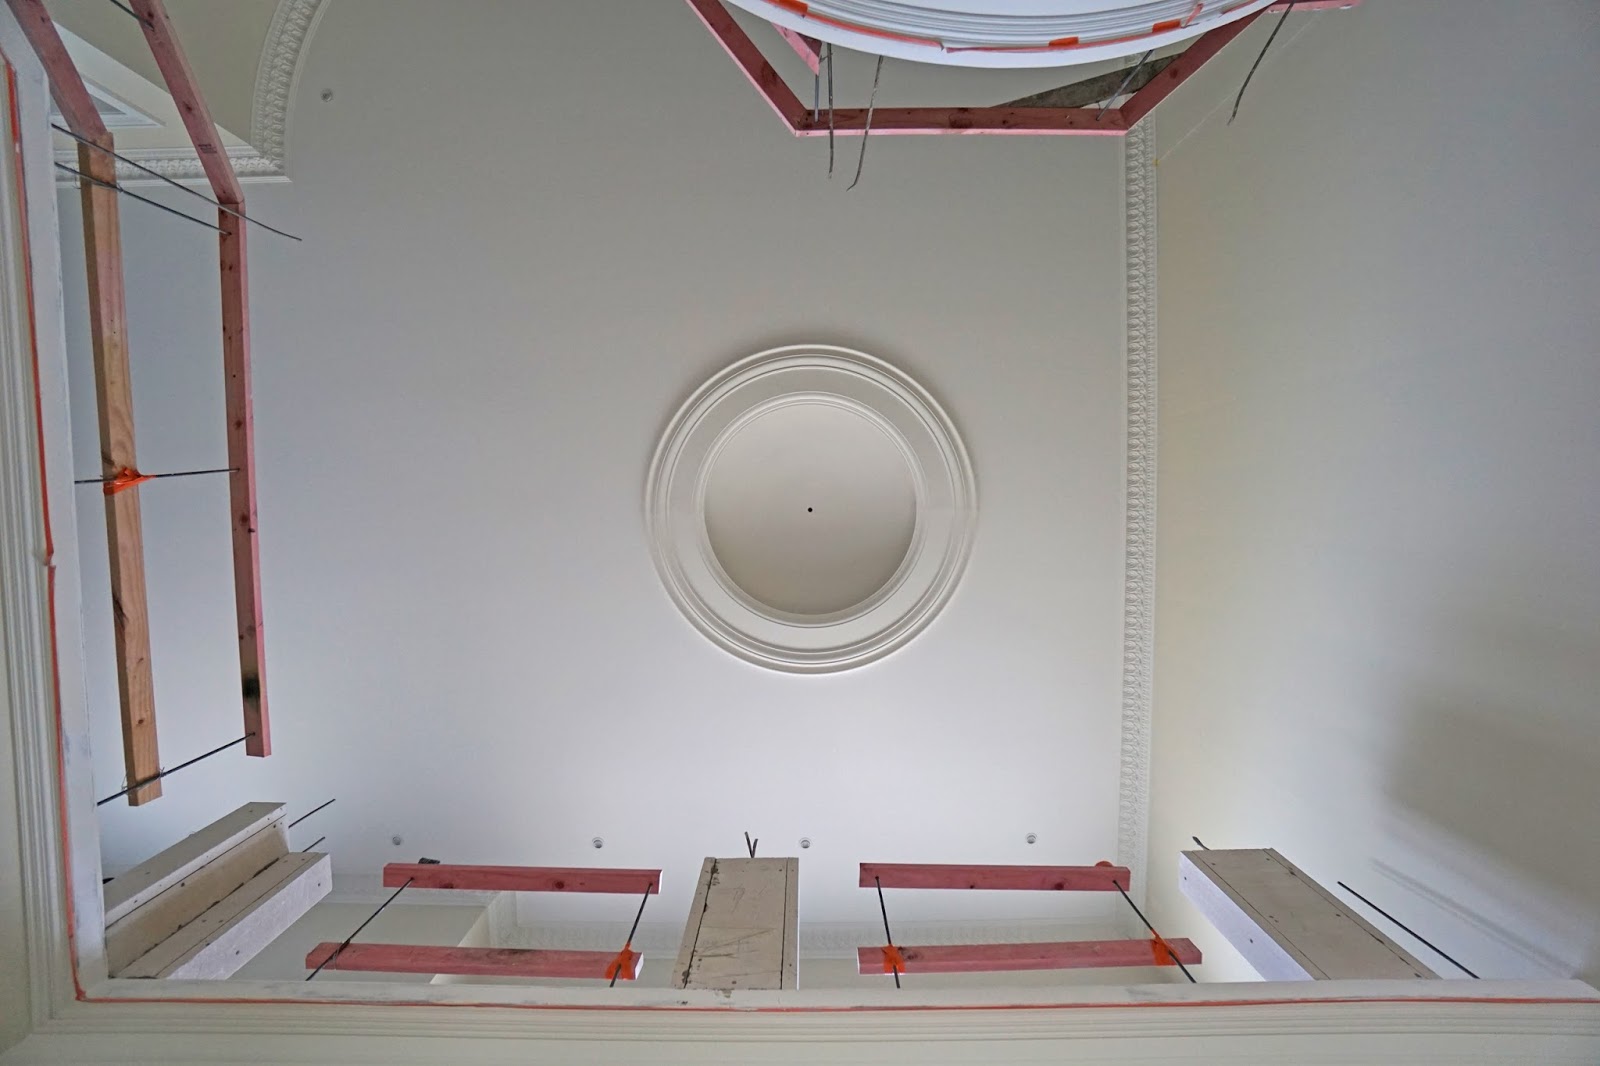
Below: Fireplace and chandelier. Once all the crystals are hung there will only be an inch of head clearance. Alas, it can not be hung any higher, but being a little lower is more traditionally Georgian, and it will allow light to shine onto the four-poster, which it wouldn't if it was a foot higher.

 The Master Bathroom

Master Vanity

 and master shower (AKA 'the carwash').

 David's Study (AKA 'The Lords').

The unpainted spaces above are to be fitted with cabinetry as per diagram below...


... but alas when the furniture arrived it was the wrong size and the wrong colour (even though there were several detailed and well dimensioned drawings which were sent). So, we have had to order the same again in the correct size and colour, which being made overseas will not arrive until late January, early February. I will look forward to relaxing in my study then with a glass of scotch to celebrate the end of this long running saga.

Below: The furniture before it was unpackaged.

This was the same for Peters study (AKA 'The Commons').

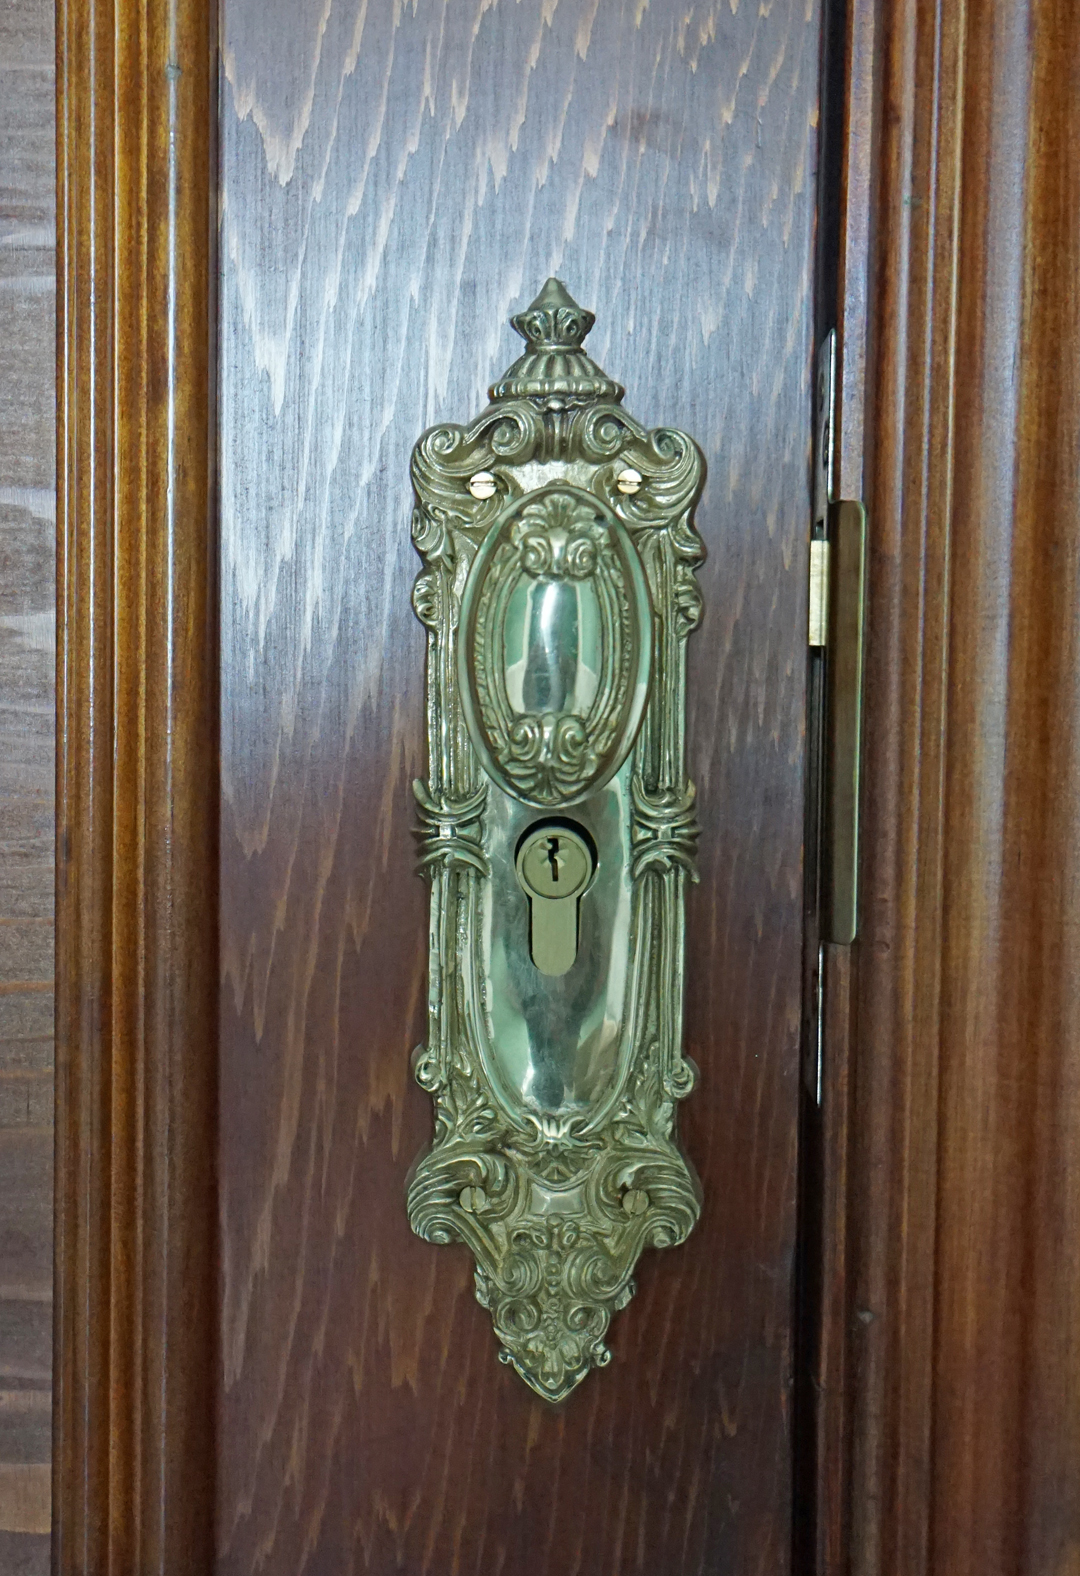
Peter loves the green colour of his walls. Here is a closeup of his door handle...

Join us tomorrow for a stroll around the grounds in our last update post before the big shift on the 20th December.

Saturday, November 28, 2015

Progress Update Part 1...

Well, after another busy month it was great to get back home for a few days and see the progress. The park and gardens had become bushy and green, the carpets were laid upstairs, the marble was laid downstairs and the wooden floors were about to go in. However, I was most eager to see the coloured render on the masonry. Our masonry box was to have been transformed into a symphony in stone. After all the anticipation I was surprised to arrive and find the manor had been involved in a custard fight! ...


Above and Below: The yellow custard coloured plaster, which did eventually settled to a burnt tangerine colour after a week.


The plasterers had done all the due diligence with the mix, and created several test boards to ensure the colour was correct, however it turns out that because the test boards were not sealed, and our masonry is, that the moisture is sucked out of the test boards in a way that can not happen to the plaster on the house, even with time. Thus the test boards were lighter than the exact same plaster once it had gone onto the house. 


Above is a test board compared with the outside of the house. The colours both came out rather anaemic in these shots, as the test board looks too light in this shot and the actual plaster looks about right, however, in real life the plaster on the house is a dark ochre, closer to the shot below:


 The colour also changes once the plaster is sanded down, which was one solution offered...


However, the plasters being the ever professionals that they are, wanted to get the job just right, and so they have scraped off all the render and have remixed the sandstone plaster to a different shade and are starting all over again!

Below: The new shade. Much better.

They have also been busy grouting and polishing all the marble on the upstairs balcony...


...painting and sanding the pilasters and architraves...

... and have put all the windows into the colonnades and are starting the rendering process for these walls as well... 


Meanwhile, inside things are starting to come together nicely. Below is a picture of the front entrance. They are holding off hanging our doors, which have been made and stained, until the last minute to avoid and damage from ongoing external construction. They will be hung by the time I get back in December though. There will be a sconce on either side of the door, with a pair of pictures to match, and then on the side walls between the columns we have a pair of console tables and some objects d'art.


We are happy with how the foyer has turned out, with the black marquina marble borders defining the various areas of the floor and the circles in the centre corresponding to the dome above. Round like a circle in a spiral... we will place a lovely Georgian drum table in the centre of the circles upon which we will place a wonderful 360 degree vantage point floral arrangement...like a wheel within a wheel...


The dome high above - chandelier to be hung next week.

The reason the marble looks matte or dusty in the photos above is that they are still in the process of polishing it. It requires about a dozen polishes with various grades of polish and grades of polishing wheels to take it from honed up to a perfect glassy finish. Below: Preparing for another polish..


The marble has been laid on the stairs since I took these photos, so now the marble flooring is pretty much complete (just need to do the lift floor, outside terrace, portico and colonnades). 

Above: A view across the foyer into Billiard room. 

Below: Billiard room. The "door" on the left is actually a panel set into a architrave (to match the door on the right) upon which will hang the cues, jack, spider, triangle etc.

Round the corner from the foyer is the salon. Again, there are several more polishes that need to happen to the floor, and then the skirting boards (base boards) and architraves can be fitted and the room is complete.


Below: View from foyer down hallway towards dining room door, first door on left is the under-stair wine cellar, next door on left is the accessible lavatory.


Below: View of the under-stair cellar. Smaller in the end than one hoped, but on the bright side, easier to keep fully stocked.


Then the dining room. The red carpet has been laid, which is a darker red than in these photos. It looks shiny as it is covered over with plastic film so that the tradesmen can keep working. The light fittings will be fitted this coming week, and then the red upholstered walls as well. Unfortunately the curtains won't be ready until the new year, but still, we will be able to host Christmas come rain or shine.


 Please pop back tomorrow to see the progress upstairs.


Related Posts Plugin for WordPress, Blogger...