At last we can share some progress photos of the interior. We are still waiting for the marble flooring to arrive from Europe before much else can happen (i.e. the kitchen can not go in until the wooden floors are down, and the wooden floors can't go down until the marble has been laid, cut, and polished (due to the water damage that could be caused if the wood was laid before the marble polishing process)... So there has been a vast flow on effect. The boys are working hard to finish the rest from the top down and get us into the house by the end of April.
Above: The last French door has been placed, and the cornicing has been put up. On top of the cornicing (crown molding) there will be controlled LED strip lighting. This will be set to a gentle incandescent glow, which will light up the coved ceiling (or which could also be set to any colour or constantly changing pattern of colours depending on client's wishes).
Above: The cornicing in the corner.
Below: The cornicing on the straight. There is an upcoming post on the gilding plans for this cornicing.
Above and Below: The pier space between the french doors for the
pier light mirrors.
The curved architraves for over the top of the doors have yet to arrive (as they are a special order - they can not bend the existing architraves to a curve that acute).
From the
ballroom we move through to the adjacent
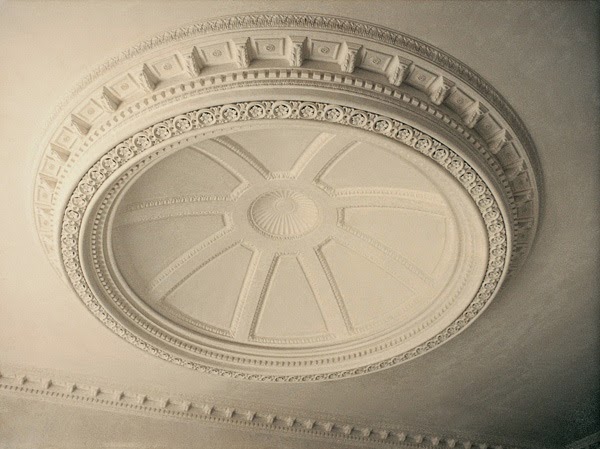
music room. This is turning into a little jewel box of a room, with it's similarly coffered ceiling and matching cornicing with lighting above. The view below is north out onto the terrace. The doors to the left go into the
ballroom whilst the doors on the right go into the
grand salon.
Above: North elevation. Below: South elevation, with doors through to hallway and then into the
Billiard Room.
Above: The corner of room where one of six pillars will be affixed to the wall, to look as though they are supporting the cornicing (as in the photo below)...
Above: View west through music room into ballroom.
The loggia and terrace to the right, foyer to left at end of room.
Below: View east towards kitchen,
terrace to the left and alcove towards end on right for
the bar.
Below: The bar alcove (4 feet wide).
Above: View from the salon passed the staircase into
the foyer. We recently had the underside of the long gallery above the front doors coffered, (below) which creates a much nicer space.
Through the foyer to the west, passed the billiard room, one enters the
Gold Drawing Room...
I especially love the cornicing in this room, in fact it is my favourite in the whole manor...
Above: View through door into dining room.
Below: View of space between the two doors where
the buffet will go.
Above: View of the fireplace backing on to the China Room.
Below: View from
Kitchen Hallway looking down length of dining room.
Below: View of builder grinding the lintel of the lift doorway so the door insert can be fitted. In the foreground to the left is the door into the wine cellar. At the end of the hallway is the doorway into the dining room.
We had to choose the stain for the wooden paneling in the lift and in the Billiard room. We have chosen the warm mid-brown colour on top of the pile below. The bottom colour was too dark for small spaces and the middle colour too ginger.
If you are fit enough not to need the lift, you can come up the stairs to the second floor...
Above and Below: The current state of the staircase, waiting for the made to measure slabs of marble to arrive and be laid.
Above: View down the stairs from above.
Below: The view from the top of the stairs / lift door to the long gallery.
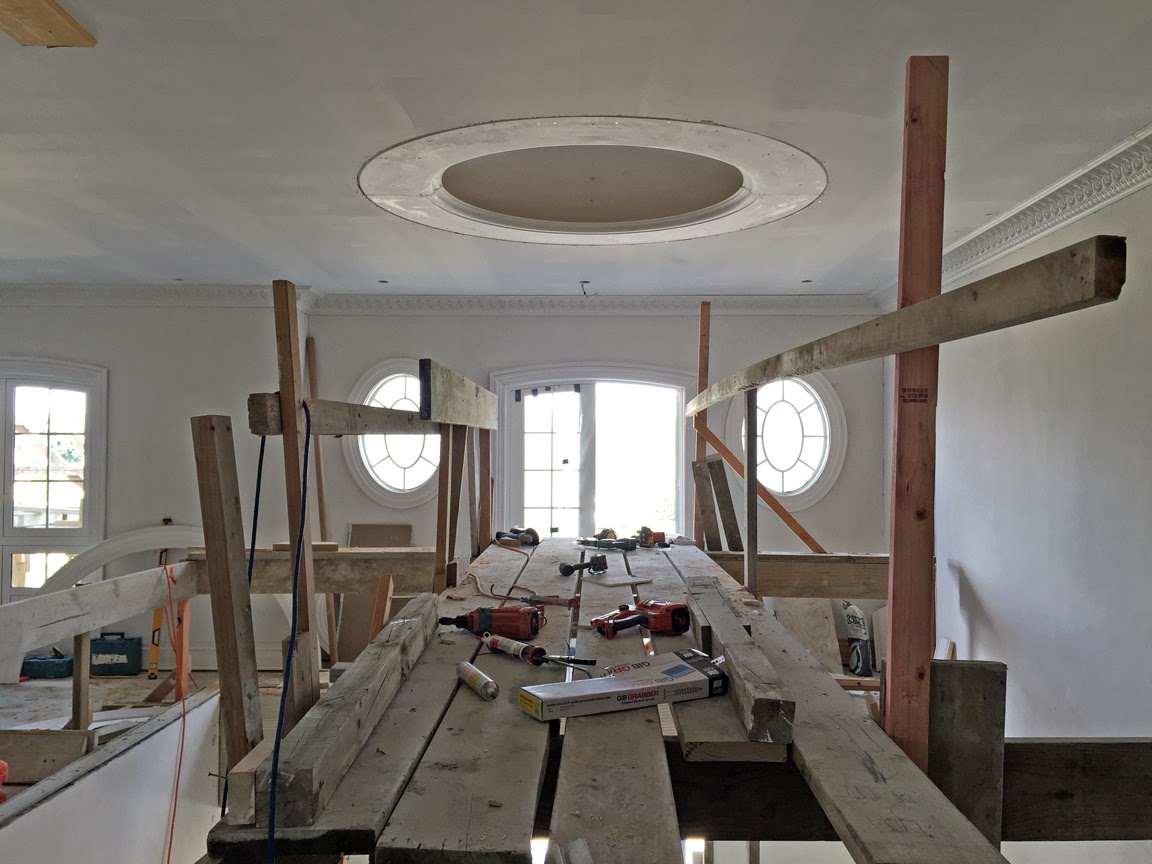
Above and Below: Views of the
Long Gallery. There will be three pillars with busts atop below each oval window, and a mirror over the doorway at the end of the gallery to make it feel twice as long.
You may get a sense of the finished space if you compare the above passage with windows on left, door ahead and balustrade on right, to two similar spaces of the same configuration, shown below:
On the other side of the atrium upstairs is a small 'piano shaped' balcony. The door on the right is the entrance to the Brideshead Suite, while the door on the left goes through to a private hallway to
both studies and the master suite. We will likely place a small arrangement of furniture, such as two arm chairs and a coffee table in the piano shaped area, with a grandfather clock to the left of our hallway door.
Below: A view into the Chatsworth Suite. The headboard of the four poster bed will go on the wall between these two windows, facing an open fireplace. In the middle of the room are the carved stone dentils for around the eaves of the house.
Below: The curved wall at the back of the piano shaped balcony, with the doorway into the Brideshead Suite.
Above and Below: The view of the east end of the Brideshead Suite, with the curved wall of the ensuite, and the wardrobe, which will have a full-length mirrored door on it, so that brides can inspect themselves fully on their big day.
While the wall of the ensuite is only curved at one end on the bedrooom side of the wall, it is curved at both ends on the inside of the ensuite, making a lovely curved marble nook to enclose the spa bath for two...
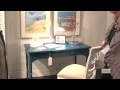
Just down the hallway is the Master Suite. They have finished the cornicing in this suite, and have finished one wall for us to sign off on (the plaster work was flawless, like glass)...
The view above was inspired by the photograph below. We have had a tall narrow chest of drawers made especially for the end nook, which will have a painting above and lights either side.
Below: Cornicing in Master Suite. Nook for drawers to left,
Dressing Room to right.
Below: West wall of master suite. There is a separate chest of draws made for the space between the windows. The headboard of the four poster will go on the wall to the right of the photo (centered on this wall backing on to dressing room so that there is His and His access to the dressing room from either side of bed.
Below: Vignette of a chest of drawers between two windows.
Through the dressing room one enters the
master ensuite. Below is the enclosure for Peter's bath. The grey board is reinforced concrete sheeting to which the
carved marble splashback will affix. The green water-proof gib board above will have mirrors fitted to the shape above the splashback.
Above: Peter's Spa Bath.
Above: Two rain bars and central mixer below a large rain head.
Such an ED Dr - no time for wallowing in a bath. Short attention span. Have stuff to do!
Well, that concludes our progress tour of the inside of the manor. In the next post we will see some of the earthwork progress on the paths, driveway and courtyard. Till then We will leave you with a picture of one of the stone capitals waiting for a column to be made. This is one of the two largest capitals, with the circular surface being 3 feet in diametre. They will go on the large columns on either side of the main entrance...


.jpg)


.jpg)